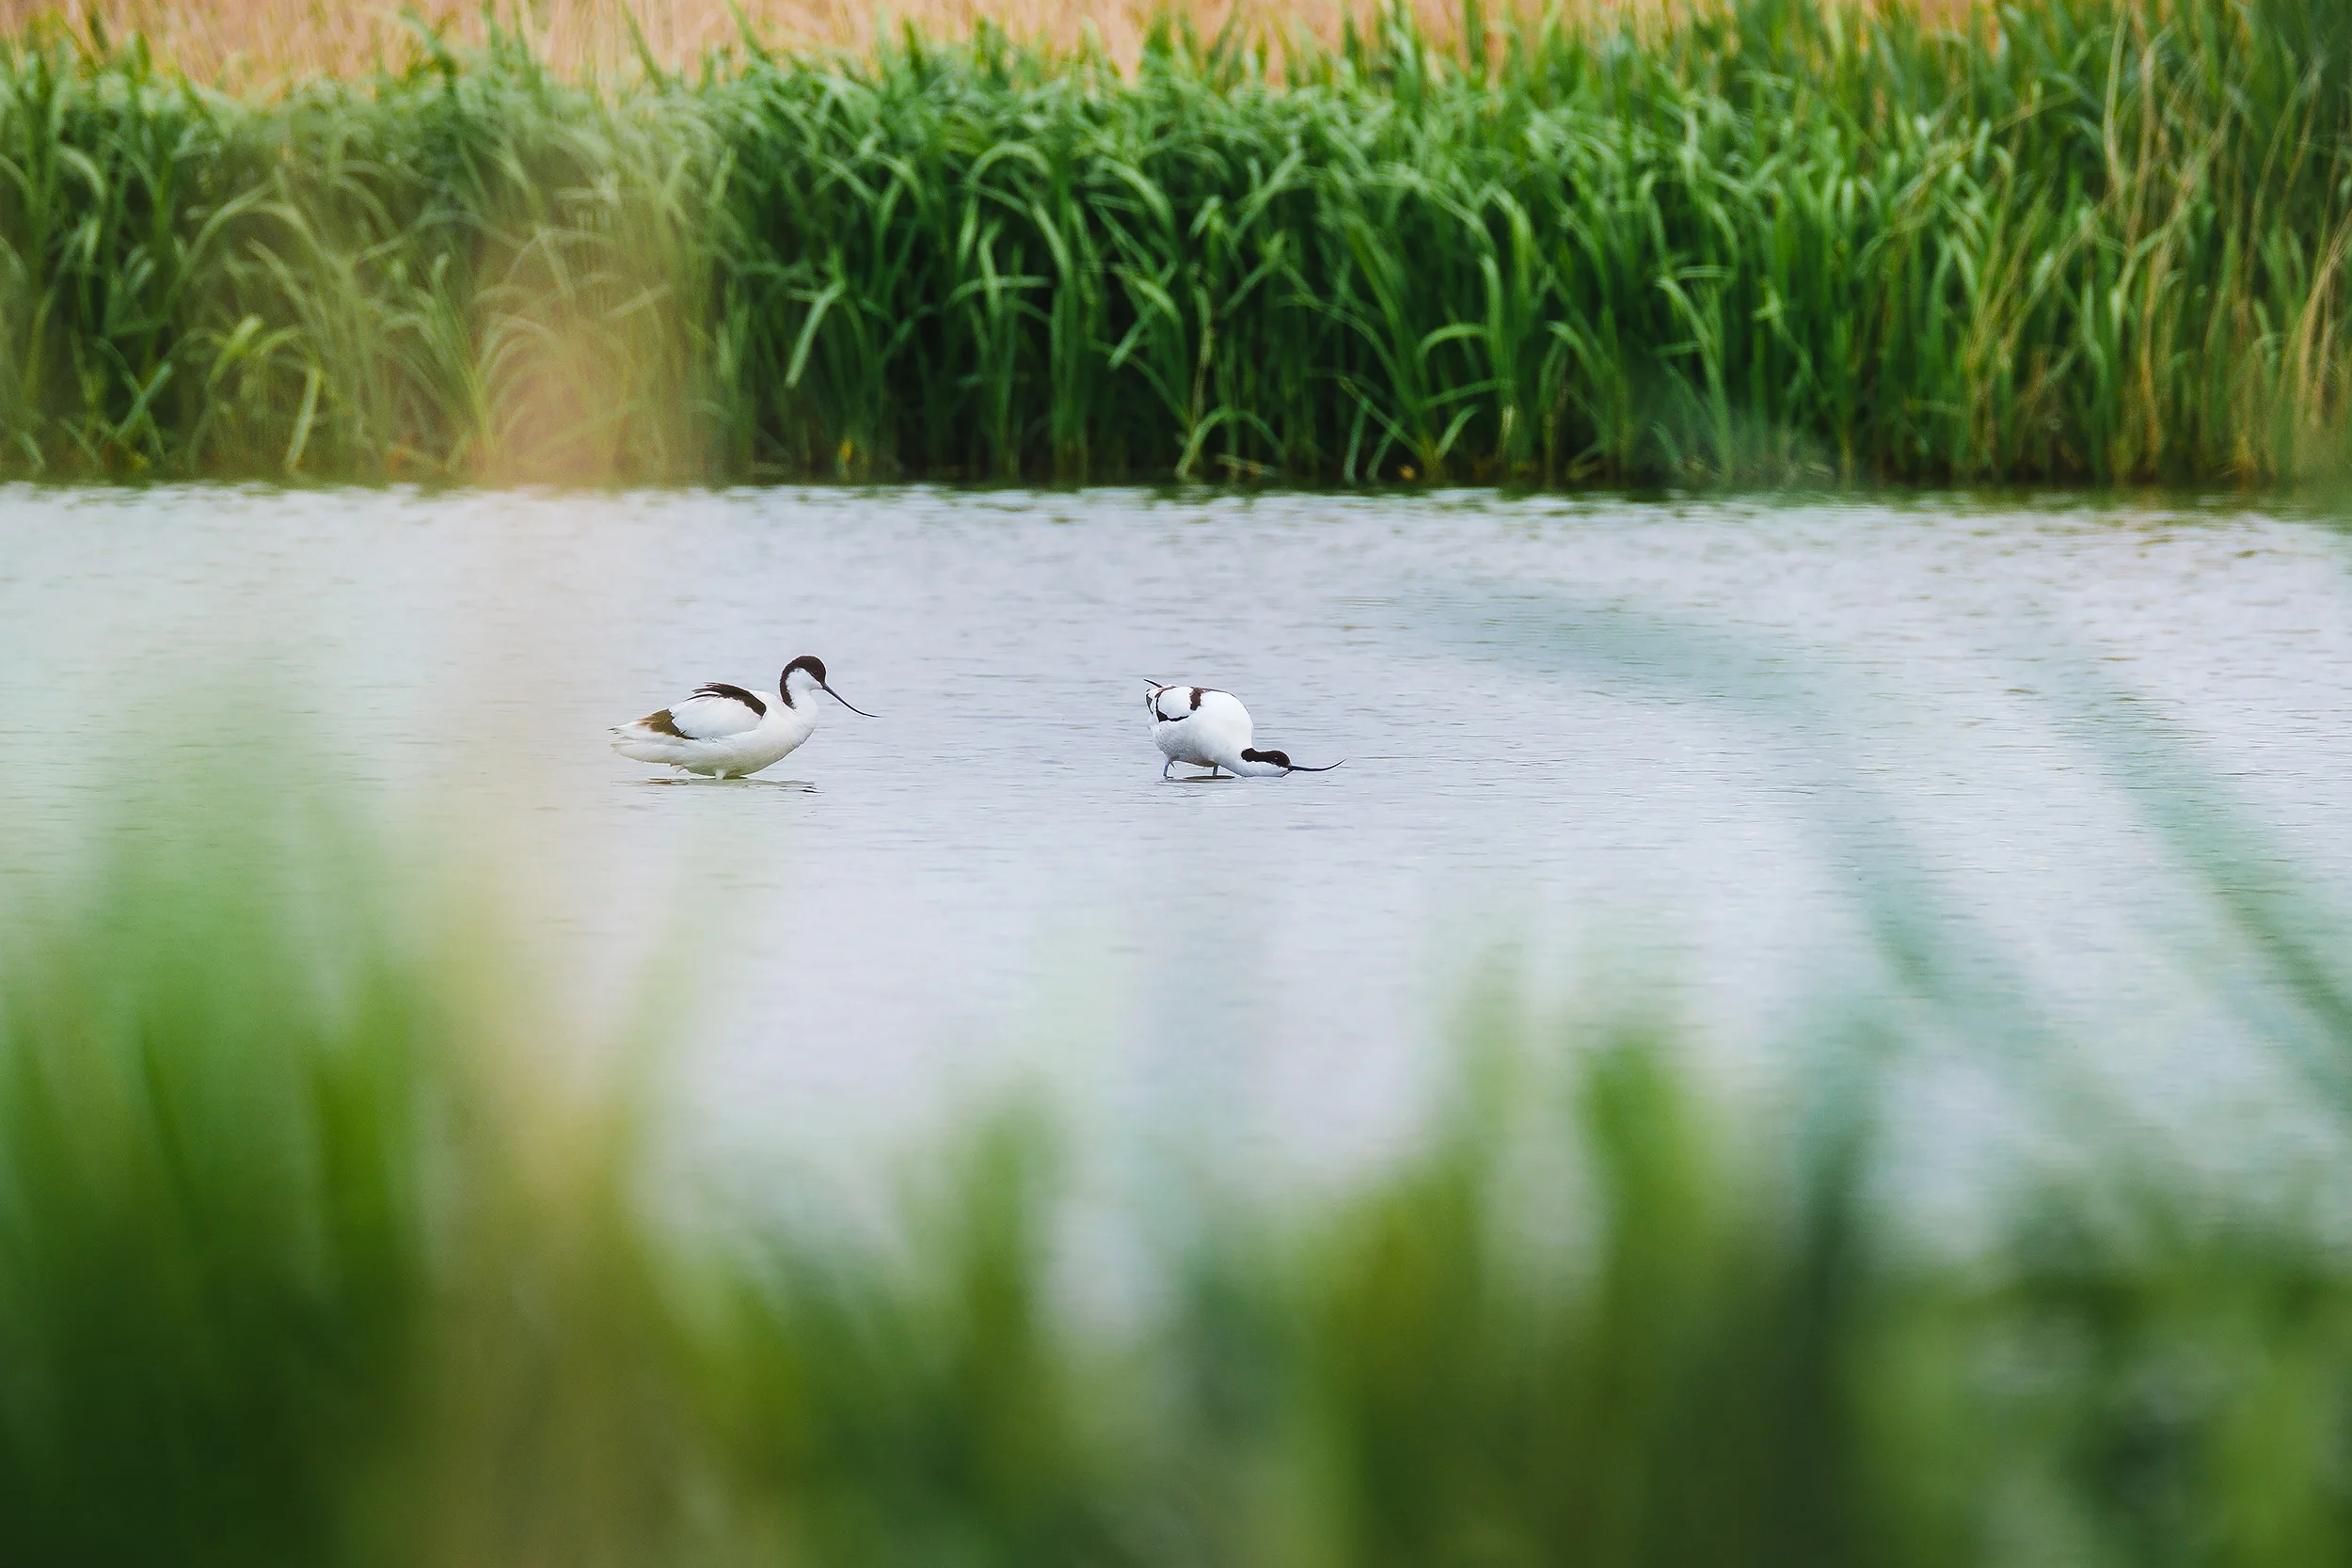
Birding with the Fujifilm X-T3 and the Fujinon 100-400
Full screen gallery below
After coming back from Vancouver and Vancouver island, photos will come later, I needed to test my few months old X-T3 against my former X-T2 for bird photography. So with a nice sun, wind and overall Dutch skies I went to the Groene Jonker and the Waver. See earlier blog posts on both areas here in the Netherlands.
Ik took the newly Lowepro photosport with me as well, I really come to like this little back. Really comfortable on long hikes and with a water bladder compartment! The 100-400mm just barely fits in the compartment, but with some wiggle and push it sits there ok!
I wanted to test the new X-T3 and its auto focus capabilities on small erratic birds here in the meadows. The main take away here is, I guess, my skills improved over de course of last year, photographing these small birds, as I found that the gap between the X-T2 and X-T3 isn’t that huge. The main take away for me is that the X-T3 has:
AF-C. Somewhat better tracking, but better single point continuous focus, especially using the smallest focus box. The X-T2 couldn’t do that. Plus it focuses a bit more accurate on small/detailed textures.
Battery life. Somewhat improved. For me marginal. Would like to see Fujifilm make the jump to a new battery. Like Sony did.
Vertical grip. The grip is much improved, better deeper handgrip and overall the camera feels more solid with it.
I’ll do a review of the Fujinon 100-400mm later, here though a few tips & tricks. I found these to work the best with this lens, but your miles may vary. Some are obvious, some are insights gathered in the last three years.
Light. This lens is not the fastest in light gathering capabilities with at the long end F5.6. That means you need enough light and contrast to get the sharpest photos. Especially some sunlight will do wonders for contrast and perceived sharpness.
Monopod. Or tripod, whatever helps you. I found shooting with a monopod helping me to frame photos better, not per se getting sharper photos. As I found that the 600mm equivalent focal length is really a handful when framing small birds or moving wildlife.
Use F8. If light is right. The photo doesn’t really get sharper for me, but when I need that extra depth of field, I will set F8 instead of F5.6. However 90% of the time the lens lives on F5.6.
High shutter speeds. Well this is a well know thing right? Get a higher shutter speed to get the really really sharp photos. As your own movement or the movement of the subject will be “frozen”. OIS helps somewhat here, but not always.
Now for the more insight type of settings. For me this helped a lot for small birds, far away subject, increased accuracy or best settings for moving subjects.
Small focus box. I tend to use the smallest, almost a point, focus box as possible on the camera. This helps with accuracy and framing smaller objects. As even from a distance 400mm at F5.6 the depth of field still can be a couple of centimetres and missing focus can be a real problem, not to be confused with a soft lens.
AF-C custom mode. After my own tests and reading this article (https://photographylife.com/fuji-x-t2-and-xf-100-400mm-for-bird-photography) as well, I can conclude that the lens will front focus in AF-C when zone area switching is set to Auto or Front duh! So set it to Center. Also good read this article.
OIS mode 2. It will make framing more difficult as the viewfinder is not stabilised in this mode, but is will give you (depending the shutter speed) slightly sharper photos. For me in the end it is not worth it as framing and handhold shots are almost impossible.
Focus limiter. Make use of the focus limit 5m-infinity. This will surely speed up the focus acquisition and help to get the shots faster. More or less of the time the subject is 5m away anyway.
So now for some of the first photos, certainly not portfolio work, but nice nonetheless. All photos below, taken with the Fujifilm X-T3 and the Fujinon 100-400mm. Click to view larger in a light box and navigate with mouse or arrow keys. Enjoy!


